|
|

|
|
 |


| ... Website in construction, thank you for your patience ... Pagina Web en construcción, gracias para su paciencia ... Site en construction, merci pour votre patience ... |
|
Construction Process
|
||||||||||||||||||||||||||||||||||||||||||||||||||||||||
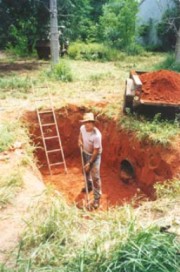
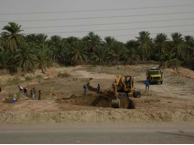
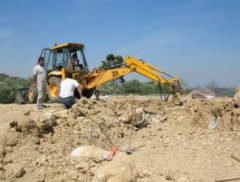
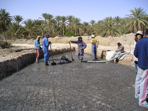
| After marking the terrain and taking a point 0 as reference level (it should be the entry point of pipe into the WWG unit), excavation of WWG basin + Control Box (by hand or by machine) |
   |
 |
 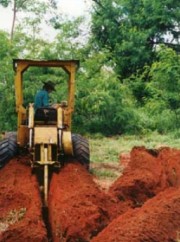 |
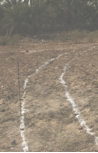
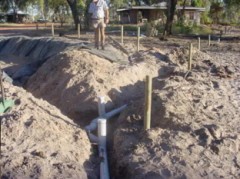
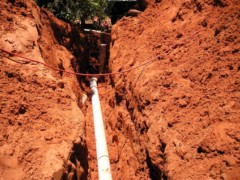
Excavation of plumbing networks + drainage trenches (by hand or by machine) |
 |
|
 |
 |
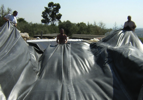  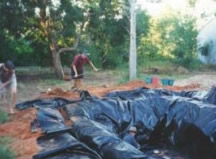 |
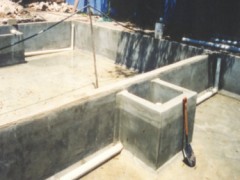
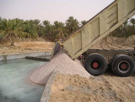
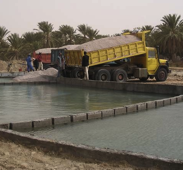
Water proofing of WWG basin (in clay, concrete o geomembrana) + its Control box 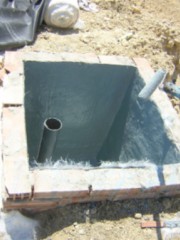 |
  |
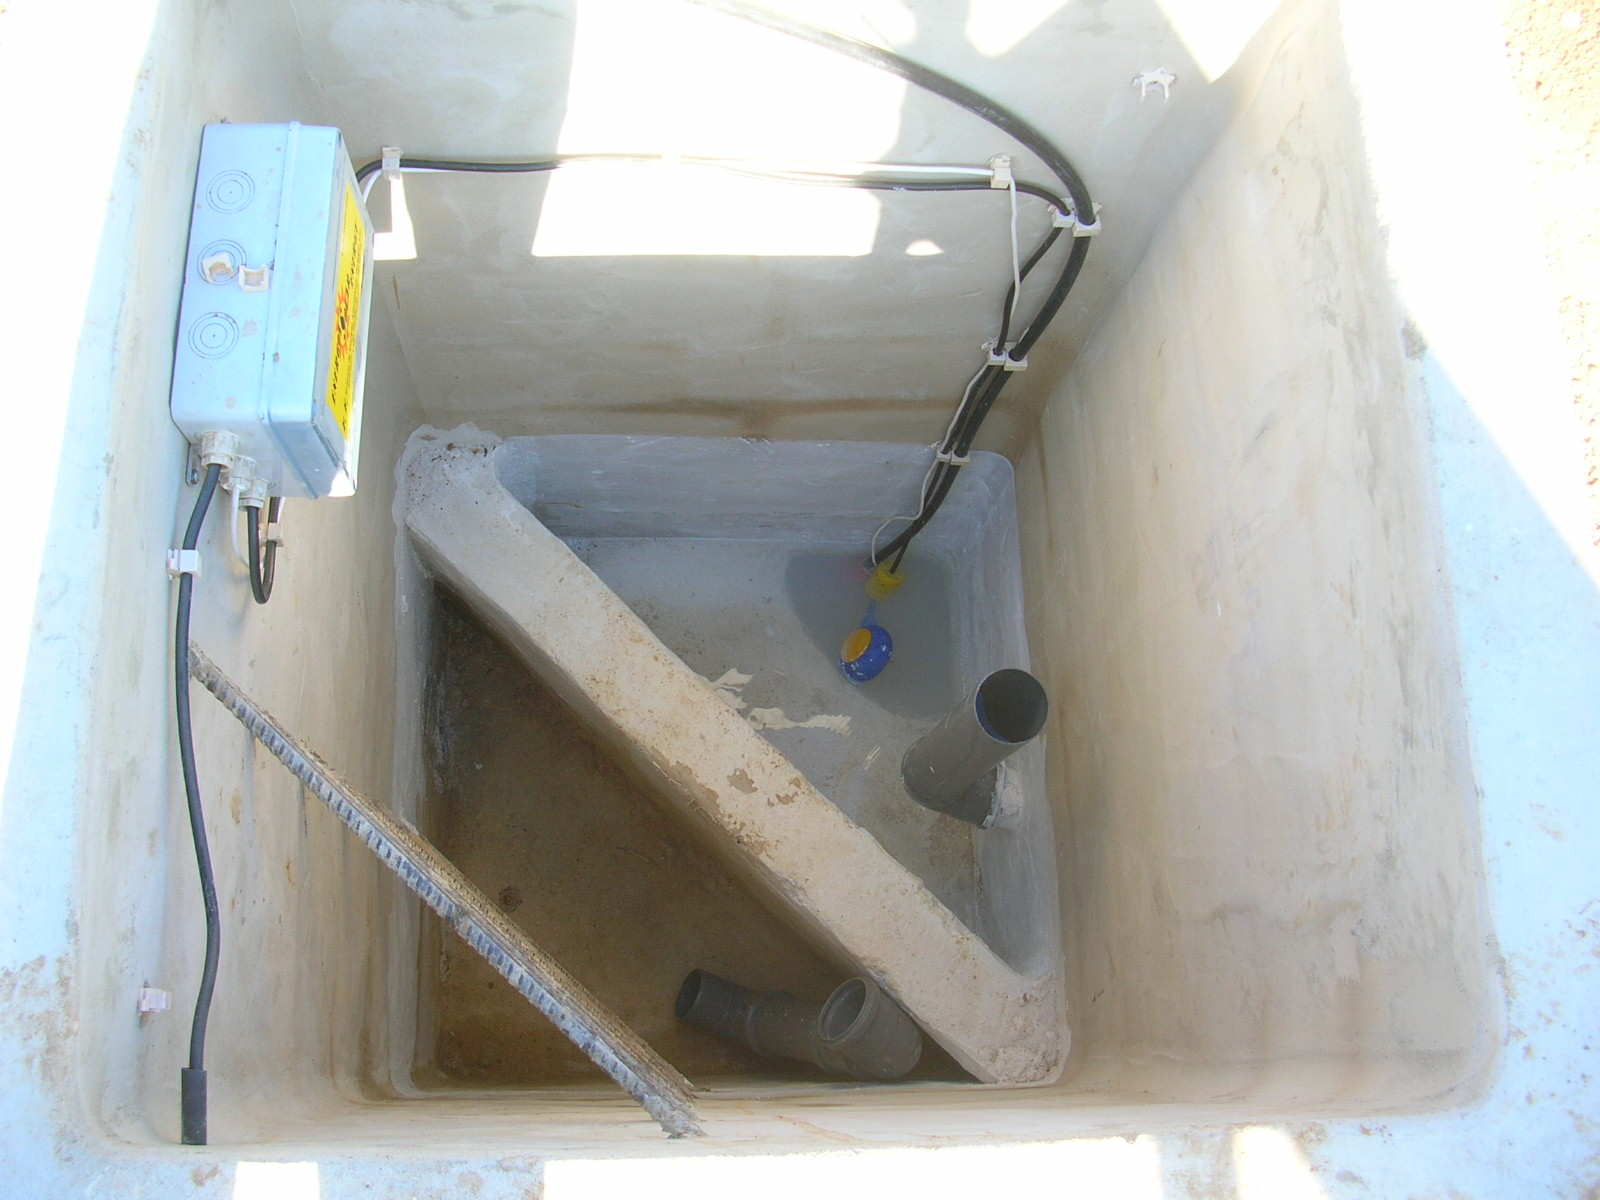
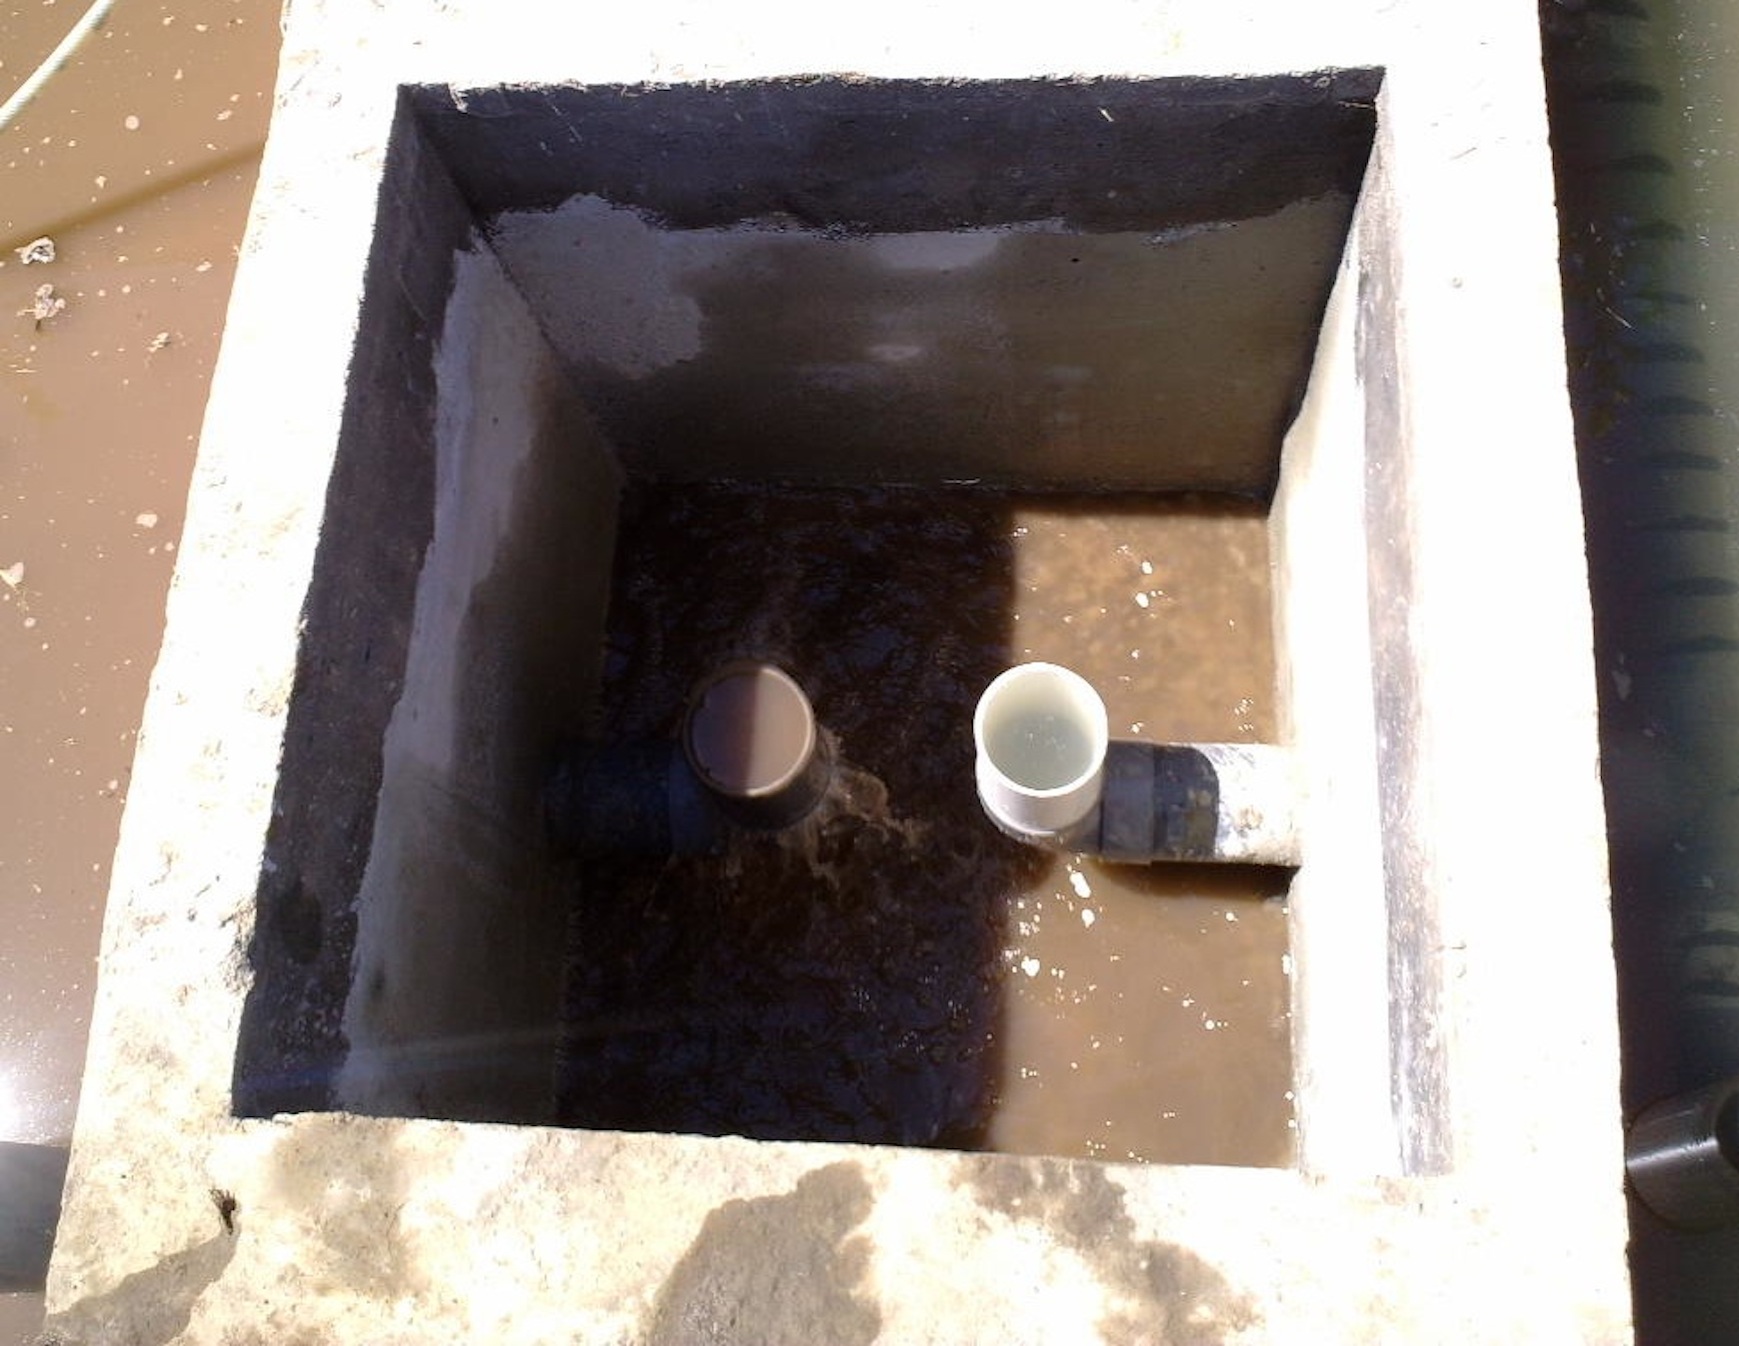
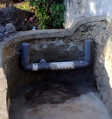
| WWG water level Control box: left photo below shows 2 pipes as 2 WWG units share 1 control box. The photo on the right accomodates a (solar) pump as the leachdrain cannot be reached by gravity (called an "inverted leachdrain) and the terrain had its freshwater drinking lens close to the surface: | |
|
  |
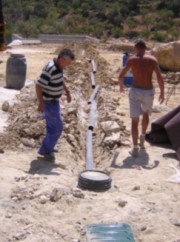
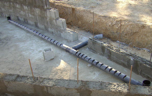
WWG unit piping in place:
|


 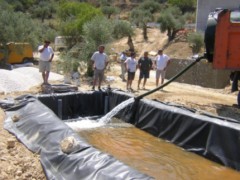 |
WWG unit water fill to check on waterproofness |
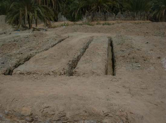
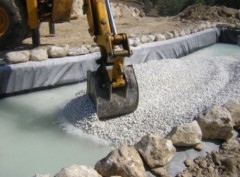
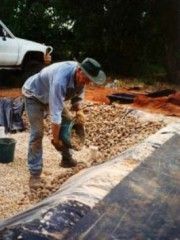
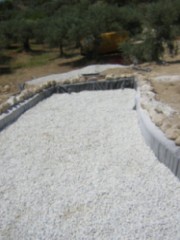
| Gravel fill of WWG unit + Drain/Subsurface Irrigation trenches |
|

|
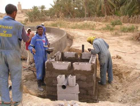
WWG unit borders can be made in several materials, depending of waterproofing method used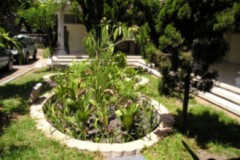 |
 |
 |

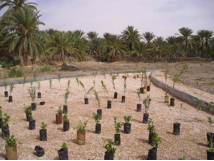 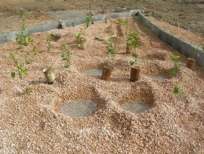  |
WWG system is ready to be planted and connected to the building's plumbing |
| Planting | 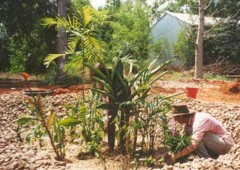 |
 |
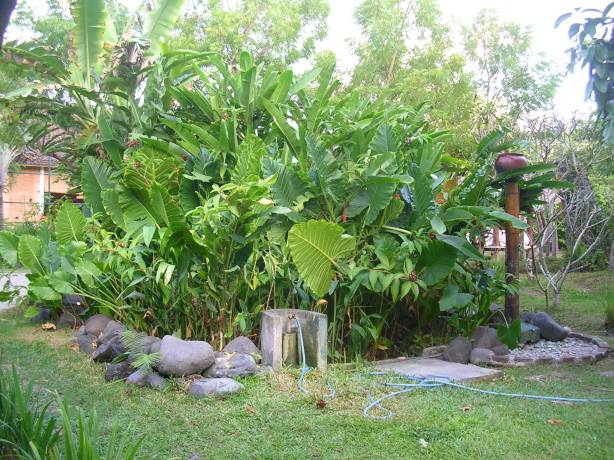
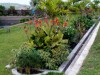
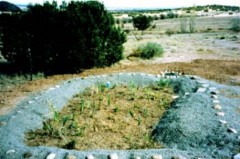
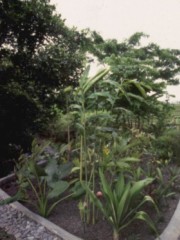
Mature WWG systems:
|